Asus Scar III Upgrade RAM / SSD / HDD

Behind the connectors, you have the little white tags that you have to carefully tilt up to release the ribbon cable. When you finish you can take off the lid and inside you can see your M.2 SSD, 2.5" drive bay, and 2 RAM slots. Before you start changing components its good to disconnect the battery, so let's do it as first. Ok, so now let's install the hard drive. My laptop came with only M.2 SSD but as you can see, the caddy for 2.5" drive is already inside. You have to unscrew 4 screws to take it out. Now take your hard drive. In my case, it is a Seagate FireCuda hybrid drive that costs a little bit more than a regular HDD but in proper conditions, it can work with nearly with the same speed as SSD. You can check it out in the link below the article. Let's screw the caddy into the drive. There will be a gap but it's ok because the drive will not be moving anyway. The next step is to plug the ribbon cable to the slot on the motherboard. On the back of the slot, there is a little black tag that you have to gently tilt up. Then insert the cable and push down the tag to tighten it up. Now take the SATA connector and connect it to the drive.

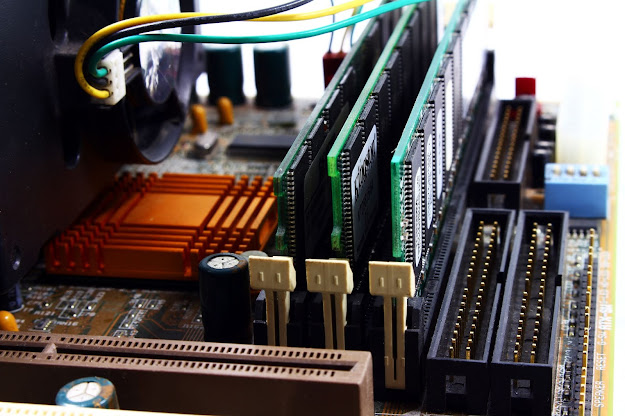
Place it all correctly in the drive bay. Please note that the ribbon cable should be under the drive. Now screw the caddy to the frame and its done. Alright, it's done, so now I will show you how to add RAM. This is a very simple process, just take one ram stick and slide it into the slot at an angle, then press it down until you hear a click. If you want to take it out, on the sides you have 2 little tabs, if you push them both RAM will pop out. If you don't know which RAM you should buy you can find the list with compatible RAM in the description. Your Scar 3 probably came with M.2 SSD already installed but if you want to swap it out, here is how to do it. There is only one screw, so remove it and pull out the SSD. Take your new drive and slide it into the slot at an angle. Then push it down, screw the screw in and it's done. If you finished your job it's time to close the bottom, but before you do it, don't forget to connect the battery if you disconnected it. First, you have to connect the light bar, so make sure that the white tag on the back of the connector is opened.
Then insert the cable and push the tag down to tighten it up. Do the same on the other side. Now place the lid on the laptop and push around the edges. Make sure that every tab clicked and you can start screwing the screws in. For some of you, this is the end of the job but my laptop didn't want to turn on. The screen was all black and the power button LEDs with the keyboard were blinking. First, try to hold the power button for 30seconds and then check if the laptop would turn on. If it didn't help you have to do a hard reset. You need to open the laptop again to disconnect the battery. Now hold the power button for 30 seconds again. Connect the battery, close the lid and your laptop should be working now. Alright, that's all for today, I hope that your upgrade was successful. Feel free to ask questions in the comments and if you like this kind of article it would be awesome if you hit thumb up or maybe consider following Tech News Update for more. On my website, you can find detailed laptop reviews, laptop comparisons, gaming benchmarks, and more. Now thanks for your time and see you in the next article.
Post a Comment